Installing XBMC on Windows 7 is normally extremely easy and straight forward. However, if you want to install XBMC on a Windows 7 virtual machine that is setup within VirtualBox, then it’ll take a few additional steps. If you want to learn how, continue reading.
Overview
- Boot Windows 7 virtual machine in safe mode
- Install Guest Additions
- Enable 3D Acceleration and increase video memory
- Install XBMC
Boot into safe mode
- Boot up your Windows 7 virtual machine normally
- Click on Start button
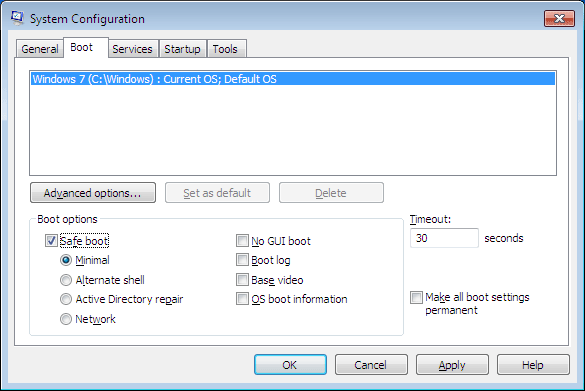
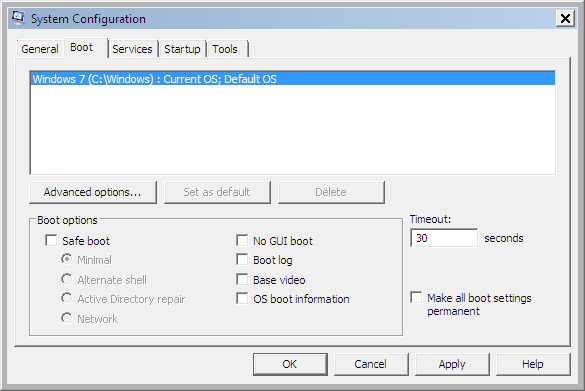
- Type msconfig and hit enter
- Click on the BOOT tab
- Check Safe Boot
- Click OK
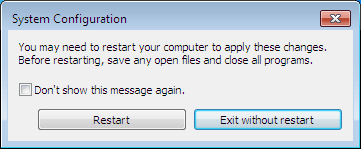
- Click Restart
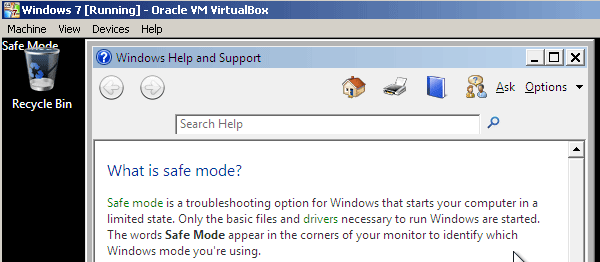
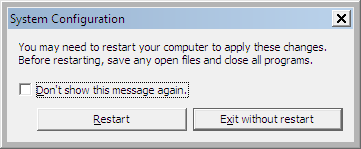
- After rebooting, the following window will pop-up. Simply ignore and close the window.
Instal Guest Additions
- Download the Guest Additions .iso for your version of Virtual Box to your host computer: http://download.virtualbox.org/virtualbox/
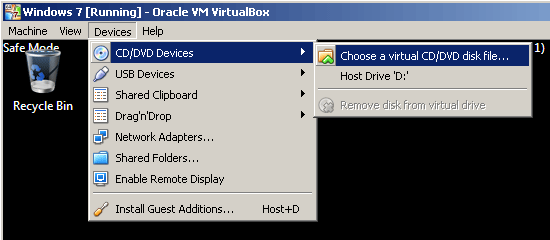
- On your virtual machine, under the Devices/CD/DVD Devices menu, select “Choose a Virtual CD/DVD disk file…”
- Navigate to the downloaded .iso file and select it. This is analogous to inserting a cdrom with this .iso into the CD/DVD drive. I downloaded the latest version to match my version of VirtualBox. It was named: VBoxGuestAdditions_4.2.18.iso. (Now you may be wondering why I simply didn’t select Install Guest Additions… from the Devices menu. This is because that points to the original GuestAdditions.iso file in the VirtualBox install folder on my host computer. The problem is that I’ve upgraded my version of VirtualBox, so I needed to use a version of Guest Additions that matched.)
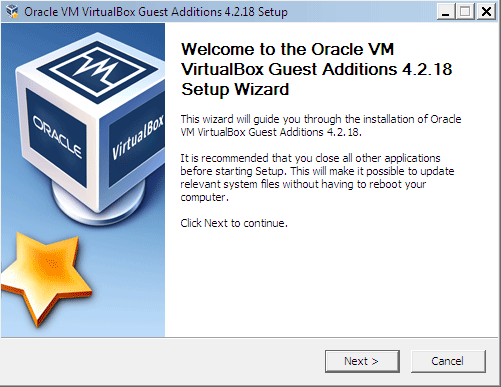
- Open an Explore Window and navigate to the CD-ROM. Double-click on VBoxWindowsAdditions.exe to install.
- On the Welcome window, click Next
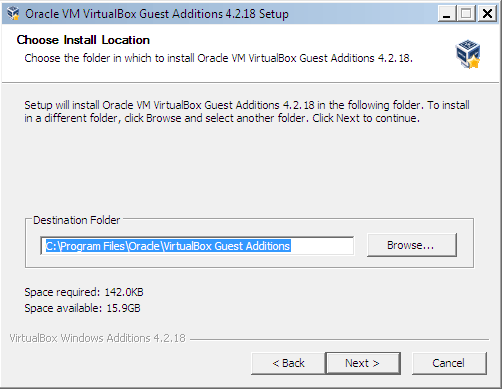
- On the Choose Install Location, the default location is fine, so click Next
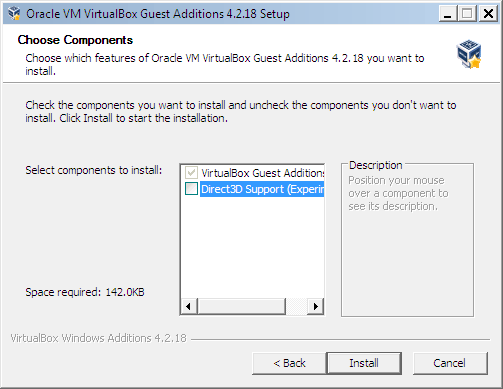
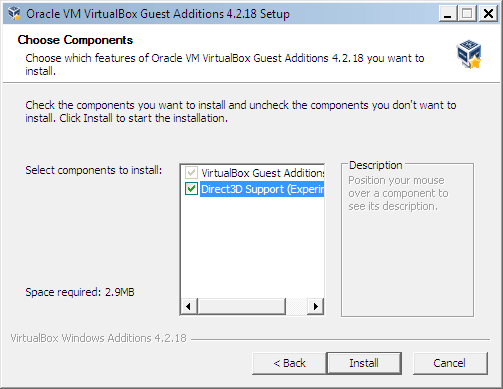
- On the Choose Components window, check the box that says Direct 3D Support
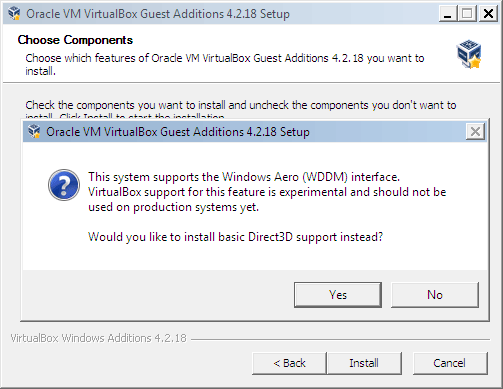
- New pop-up window asking to install basic 3D support. Click Yes.
- Click Install
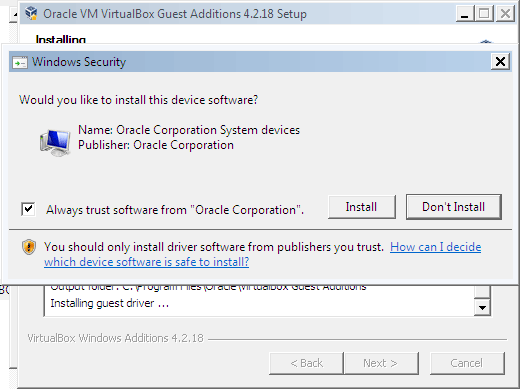
- On new window, check Always trust software from “Oracle Corporation”, then click Install
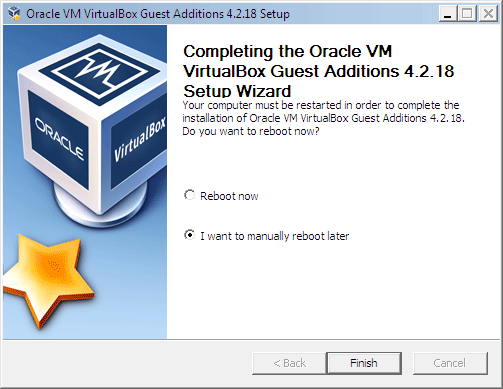
- When complete, the final window will appear. Check I want to manually reboot later. Then click Finish.
- Click on Start button
- Type msconfig and hit enter
- Go to BOOT tab
- Un-check Safe Boot
- Click OK
- Click on Exit without Restart
- Shutdown the virtual machine
Enable 3D support
- Back in VirtualBox, open the Settings panel for your virtual machine.
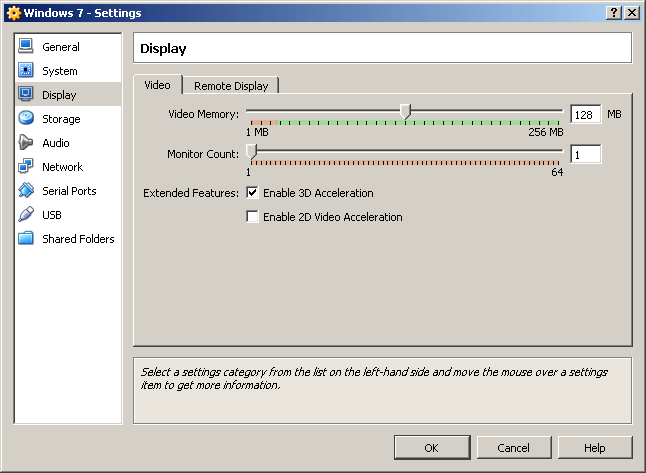
- Click on Display in the left-hand column
- Check Enable 3D support
- Increase memory to 128MB
- Click OK
- Boot your virtual machine
Install XBMC
- In your virtual machine, download the latest version of XMBC for Windows
- After downloading, double-click the installer
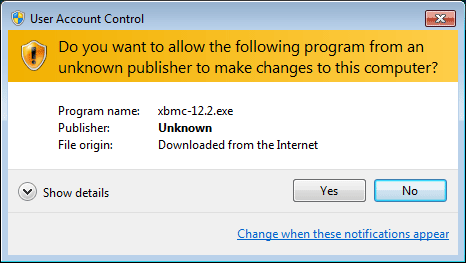
- If a User Account Control window opens, click Yes
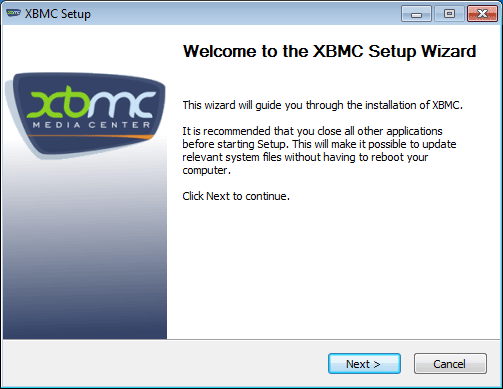
- On the XBMC Setup window, click Next
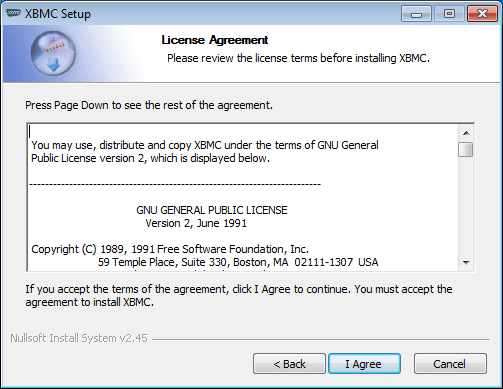
- On License Agreement window, click I Agree
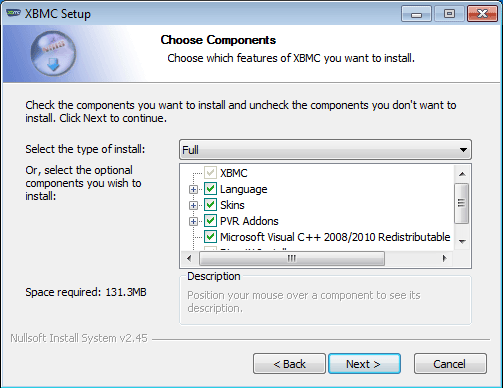
- On Choose Components window, click Next
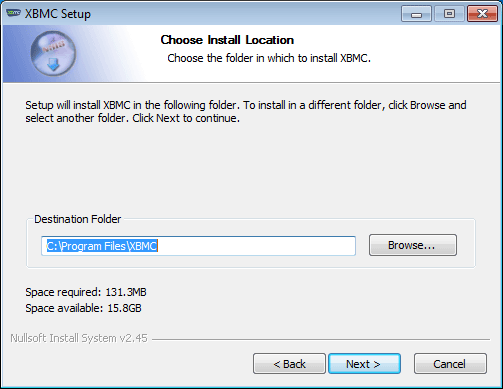
- On Choose Install Location window, click Next
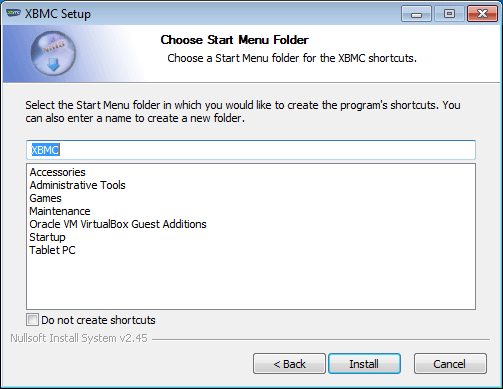
- On Choose Start Menu Folder window, click Install
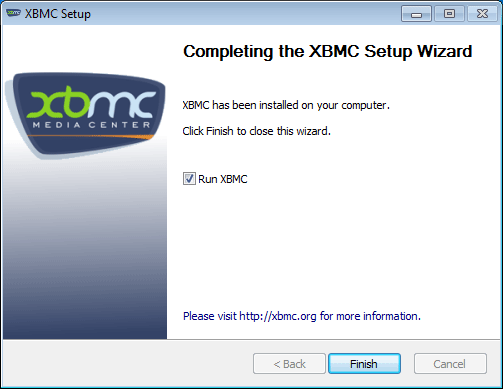
- On the final window, check Run XBMC and click Finish
XMBC is now installed on your Windows 7 virtual machine in VirtualBox.
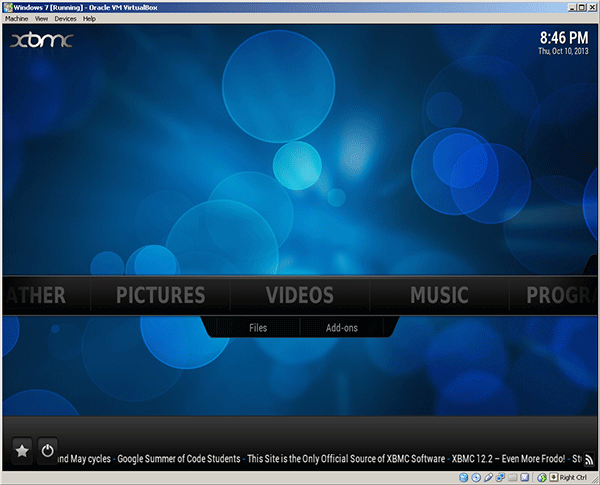
Have fun!!!!!
