This is a step-by-step tutorial on how to install the Guest Additions on a VirtualBox Virtual Machine installed with Ubuntu 12.04 so that you can access a shared directory on the host computer. I initially tried to install the Guest Additions by selecting the “Install Guest Additions…” menu option under the Devices menu. Unfortunately, this didn’t work, and I’m not entirely sure why. So here are the steps that I took to get the Guest Additions successfully installed on my virtual machine.
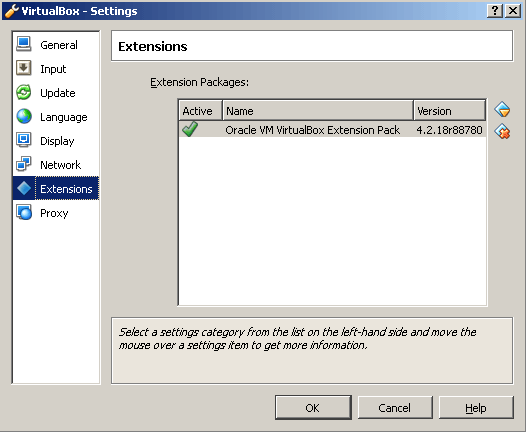
Install Extension Pack
- Download and install the latest Extension Pack for your version of Virtual Box to your host computer: http://download.virtualbox.org/virtualbox/
- When downloading the Extension Pack, you should be prompted to either save or open with VirtualBox Manager. If you choose to open with VirtualBox Manager, then it’s very straight forward to install. Otherwise, you can install it by going to File/Settings/Extensions and then add the latest Extension Pack.
Install Guest Additions
- Download the Guest Additions .iso for your version of Virtual Box to your host computer: http://download.virtualbox.org/virtualbox/
- Run the virtual machine that you want to install Guest Additions on
- Under the Devices/CD/DVD Devices menu, select “Choose a Virtual CD/DVD disk file…”
- Navigate to the downloaded .iso file and select it. This is analogous to inserting a cdrom with this .iso into the CD/DVD drive.
- Create a mount point for the cdrom:
$ sudo mkdir /mnt/cdrom
- Mount the cdrom
$ sudo mount /dev/cdrom /mnt/cdrom
- Change directories and list the contents
$ cd /mnt/cdrom
$ ls
- Type to following command to install
$ sudo ./VBoxLinuxAdditions.run
That’s it! Guest Additions is now installed. The next step you might want to take is creating and mounting a shared directory from your host computer. Read this post where I outline the necessary steps.

